
“Concrete cracks. It’s really not a big deal.”
That’s a common phrase in many facilities — but it’s not entirely true.
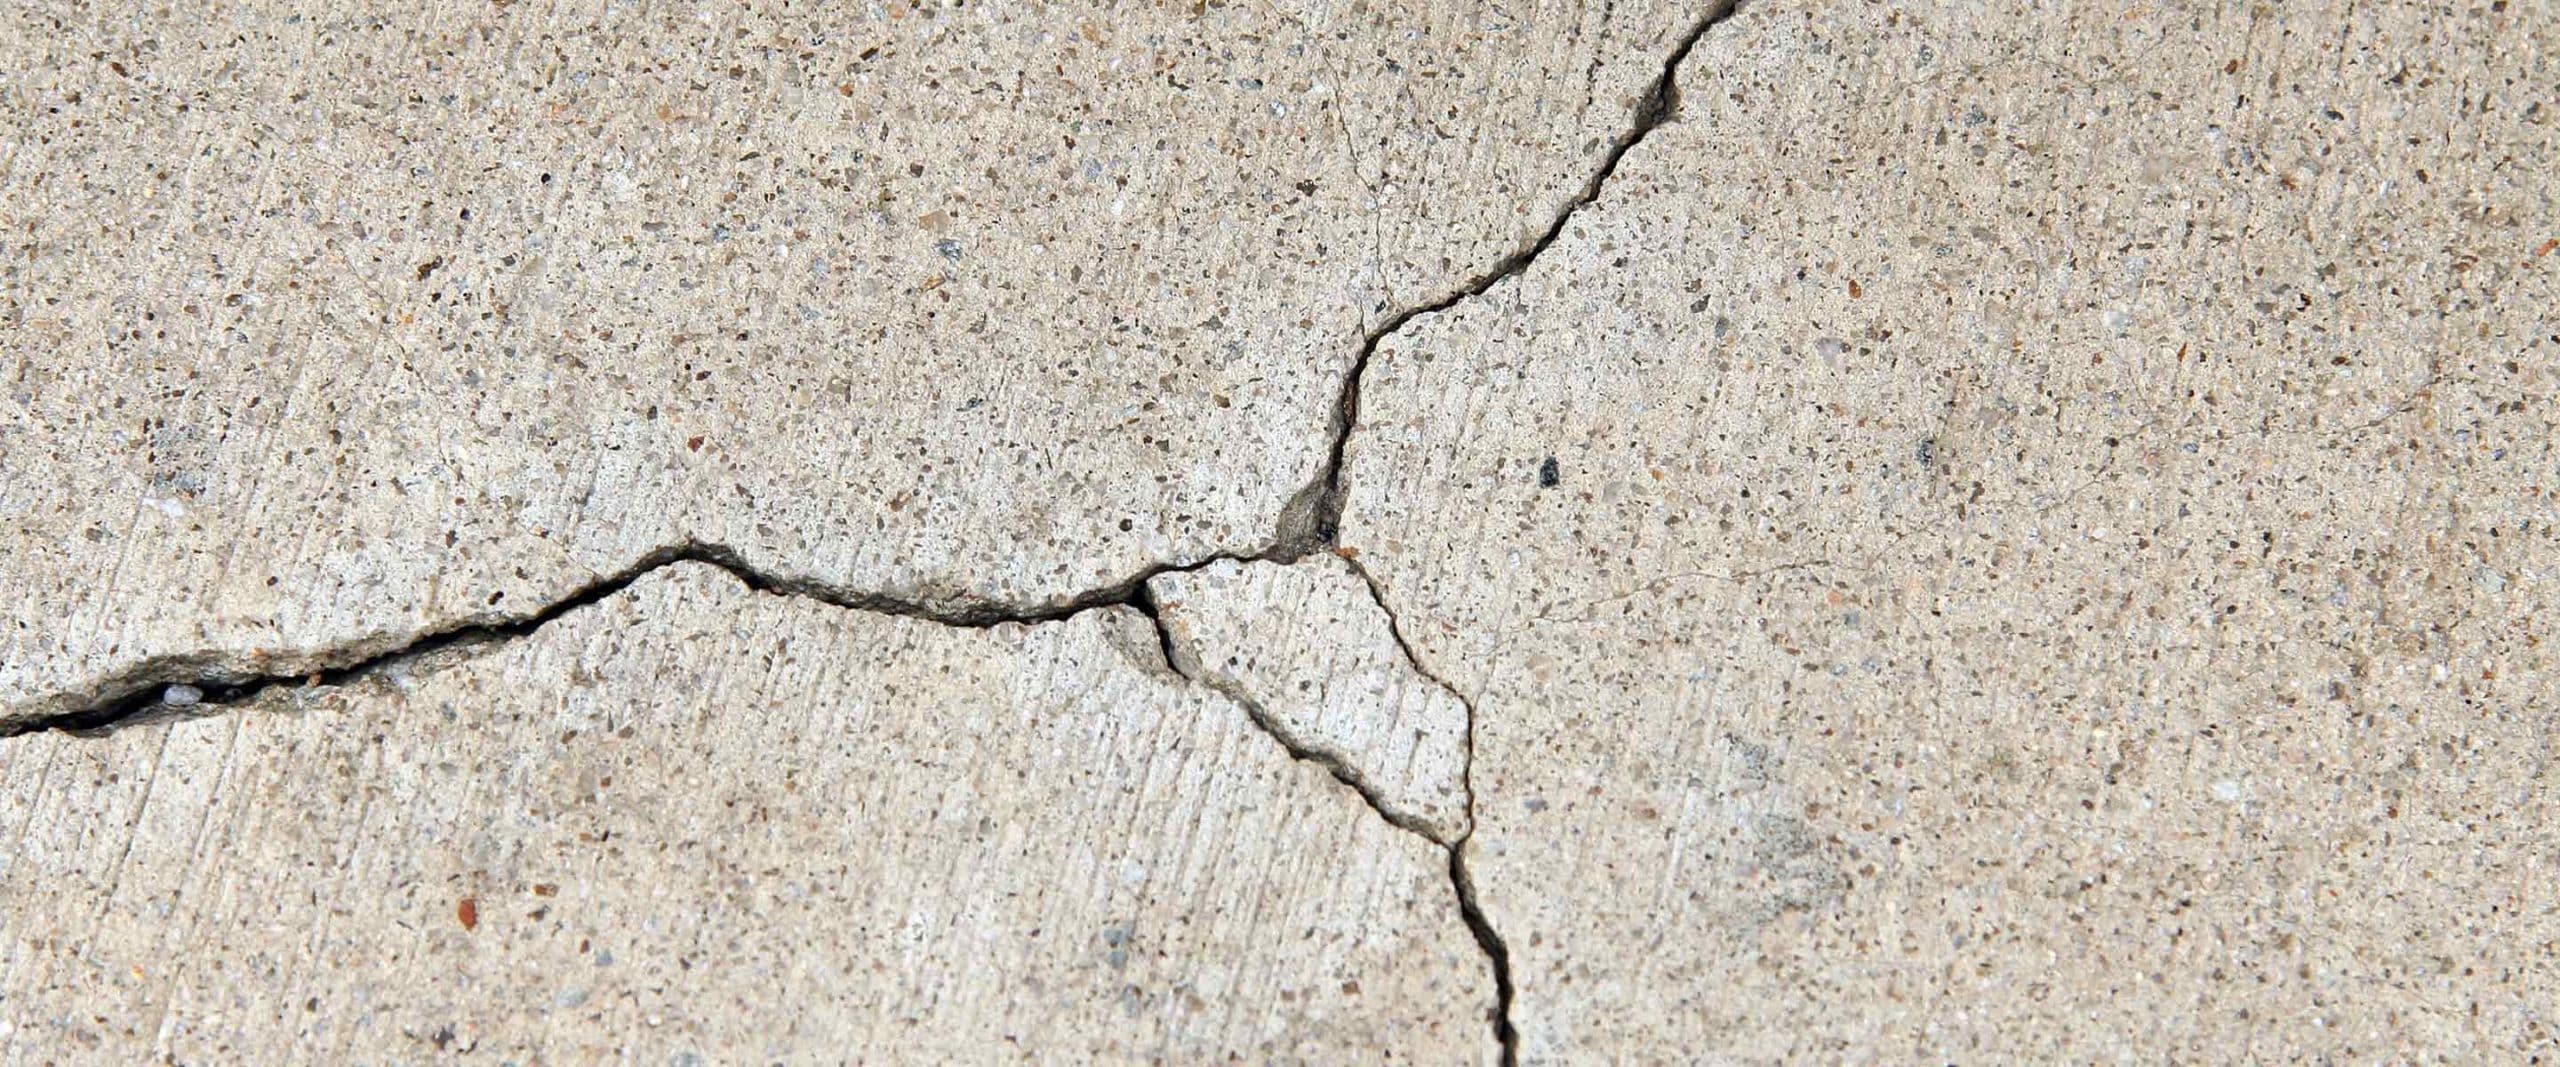
Concrete cracking is normal. It happens everywhere: in warehouses, industrial plants, manufacturing facilities, and commercial buildings. Every concrete slab will crack at some point. But while hairline cracks might not seem urgent, ignoring them can create bigger problems over time. What starts as a small surface crack can spread, deepen, and eventually lead to structural weaknesses, safety hazards, contamination risks, and even product or equipment loss.
Just like any mechanical component, concrete wears with time and use. If a bearing starts to fail, a belt begins to fray, or a sprocket breaks, your maintenance team addresses it quickly. You don’t wait until it shuts down the line. Yet, when it comes to concrete — the foundation of your facility — it’s easy to overlook small issues until they become major ones. But concrete requires upkeep too. Without basic maintenance, those small cracks can turn into major repair jobs that impact your operation and budget.
The good news is that repairing small cracks is a straightforward process. It doesn’t require major equipment or expensive materials. With the right tools and a little time, you can stop damage from spreading and extend the life of your concrete floors. Early repairs are more than just preventative—they’re cost-saving.
This guide walks you through everything you need: from the tools and materials required to the step-by-step process that ensures a strong, long-lasting repair.
Tools and Equipment You’ll Need
Having the right tools makes the repair process easier and more effective. Here’s what you should have on hand before you begin:
- Drill with a soft wire wheel – This is the best way to thoroughly clean the inside of the crack. It removes dirt, dust, and loose particles that could prevent proper bonding.
- Wire brush (manual option) – If you don’t have access to a drill, a hand-held wire brush works as an alternative for cleaning the crack.
- Vacuum – After cleaning, use a vacuum to remove all remaining debris. A clean, dry surface is key to a strong bond between the crack and the repair polymer.
- Medium grit grinding pad – Once the repair material is cured, this pad will help you grind down any excess, leaving the surface level with the surrounding concrete.
Recommended Crack Repair Materials
Not all crack fillers are the same. For effective repairs that last, use materials specifically designed for concrete crack repair. Some proven products include:
- Euco QWIKstitch – A fast-setting, two-part urethane great for fine cracks in industrial settings.
- Sika Crack Fix – A low-viscosity polyurethane that penetrates deep and cures quickly.
Each of these products is designed to bond well with concrete, resist wear, and hold up under heavy traffic or operational demands.
Step-by-Step Guide to Repairing Concrete Cracks
Step 1: Remove Loose Debris
Start by clearing out the crack using a narrow hand tool like a putty knife or a screwdriver. This helps loosen and remove any debris that may be lodged inside. If the crack is 1/8 inch wide or smaller, avoid routing or enlarging it. Doing so can cause unnecessary damage and may weaken the surrounding area.
Step 2: Clean the Crack Thoroughly
Use your drill equipped with a soft wire wheel to clean the inside of the crack. This removes any remaining dirt, dust, or particles that could interfere with the bond. A clean surface ensures the polymer will properly adhere and penetrate. If you don’t have a drill, a wire brush will work — just take extra time to scrub thoroughly.
Step 3: Vacuum Out Dust and Debris
Once the crack is cleaned, vacuum the entire area. Make sure no dust, debris, or moisture remains. The crack must be completely dry before applying any repair material. Moisture or leftover dust can interfere with adhesion and reduce the durability of the repair.
Step 4: Apply the Crack Repair Polymer
Choose a low-viscosity polymer specifically designed for concrete crack repair. Slowly pour it into the crack, allowing it to flow deep into the void. Let it fill naturally, and continue applying until the material is no longer absorbed. This step is critical — it ensures a full-depth repair, not just a surface patch. Proper penetration creates a long-lasting, durable bond.
Step 5: Allow It to Cure and Finish the Surface
Follow the manufacturer’s curing instructions closely. Don’t rush this step — the material needs to set fully for maximum strength. Once the repair has cured, use a medium grit grinding pad to level off any excess material. This will leave the repaired area flush with the surrounding slab, restoring a smooth surface.
Why Early Concrete Crack Repair Matters
By following these simple steps, you can stop small cracks from growing into serious problems. Regular crack maintenance helps:
- Protect your facility’s structural integrity
- Prevent trip hazards and safety violations
- Avoid moisture intrusion or chemical contamination
- Extend the life of your concrete flooring
- Reduce costly repairs and operational disruptions
Treat your concrete like the critical infrastructure it is. With a small investment of time and material, you can keep your floors in top shape and avoid bigger issues down the road.
